If you’re looking to bring your app idea to life on the App Store, enrolling in the Apple Developer Program is a crucial step. However, before you hit that “Enroll” button, there are a few important things to be aware of to avoid potential headaches down the road. Here are some key considerations to keep in mind:
1. Choose the Right Account Type
Apple offers two types of accounts: Individual and Organization.
- An Individual account is best if you’re a solo developer. Your personal name will appear as the developer on the App Store.
- An Organization account is better for companies and teams, allowing multiple developers to collaborate and enabling features like Apple Business Manager.
Make sure to choose the right type, as switching from an Individual to an Organization account later requires additional verification and may not be a seamless process.
2. The Team Name is Permanent – Choose Wisely
One often-overlooked detail is the team name you select during registration. This name appears on your app’s product page and cannot be changed unless you create an entirely new Apple ID and enroll again. This means:
- If you’re registering as an individual, your personal name will always be displayed.
- If you’re enrolling as a company, your legal entity name will be used.
Think carefully about how you want your brand to appear on the App Store before finalizing this choice.
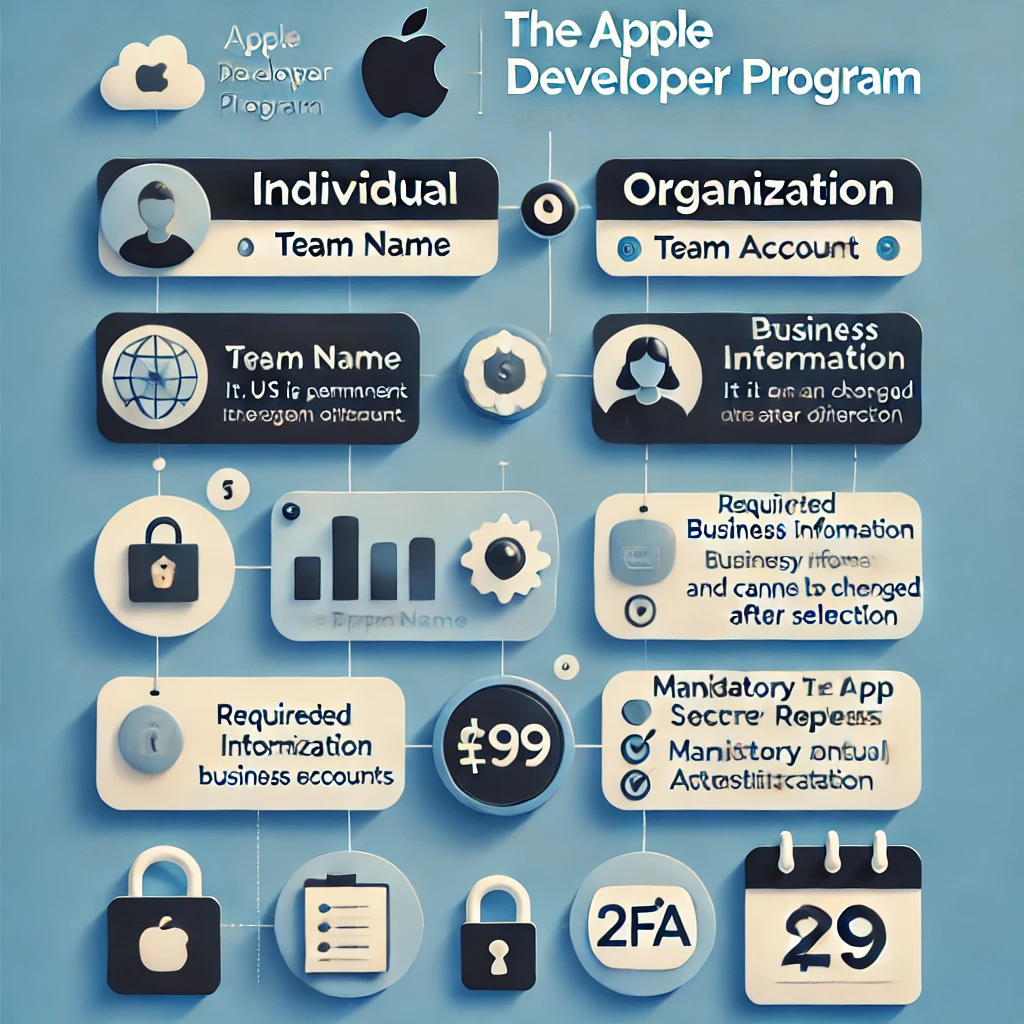
3. Have Your Business Information Ready
If you’re enrolling as an Organization, Apple requires you to provide a D-U-N-S number (a unique business identifier used to verify your company). Make sure:
- Your business is legally registered.
- Your D-U-N-S number matches the legal entity name exactly.
- The email address used is a company domain rather than a generic one (e.g., you@yourcompany.com instead of you@gmail.com).
Any mismatch in these details can delay your enrollment process.
4. Payment and Subscription Details
The Apple Developer Program costs $99 per year, and your membership must remain active for your app to stay on the App Store. Keep these in mind:
- Apple does not offer prorated refunds if you cancel mid-year.
- Set a reminder for renewal, as failing to renew will remove your app from sale.
- Some regions allow enrollment with alternative payment methods, so check Apple’s payment options in your country.
5. Two-Factor Authentication is Mandatory
To enhance security, Apple requires two-factor authentication (2FA) for all developer accounts. Before enrolling, make sure:
- Your Apple ID has 2FA enabled.
- You have access to a trusted device (iPhone, iPad, or Mac) for verification codes.
Not setting up 2FA beforehand could lead to frustrating login issues during the enrollment process.
6. Prepare for the Review Process
Once you’re enrolled, submitting an app doesn’t mean instant approval. Apple has strict review guidelines, and common rejection reasons include:
- Inaccurate metadata (misleading descriptions, screenshots, or titles).
- Bugs or crashes (test your app thoroughly with TestFlight before submission).
- Privacy violations (ensure your app properly handles user data and adheres to Apple’s privacy policies).
Reading Apple’s App Store Review Guidelines before submission can save you time and frustration.
Final Thoughts
Enrolling in the Apple Developer Program is exciting, but taking these factors into account will help you avoid costly mistakes. From choosing the right account type to ensuring your branding remains consistent, planning ahead will make your app development journey much smoother.
Are you enrolling soon? Let us know your experience in the comments!